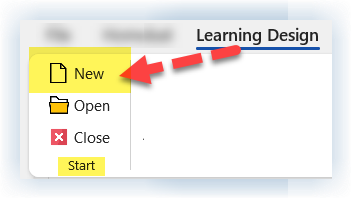
Click the New button on the Learning Design Tool ribbon to start your new Design Document
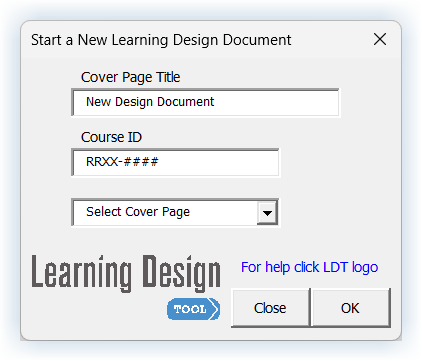
2. Use the Start a New Learning Design Document dialog box to:
Enter the title for the Learning Design Document you are creating
Enter an optional Course ID
This appears on the cover page and becomes a Window's searchable keyword field that you can use with the File Finder function of Microsoft Windows.
Select a Cover Page
The Learning Design Tool comes with one default cover page.
You can modify it and make additional custom cover pages.
See Module 1: Lesson 4 of this course for instructions on how to create a custom cover page.
3. Save your New Learning Design Document when prompted
You will see a new Learning Design Document being built on your screen
You will be prompted to SAVE your new Enter Learning Design Document
We recommend that you save to your local Documents folder & then work locally
You can later save a copy to network drive
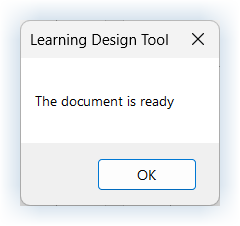
After you Save you will see a message telling you that your document is ready
Click OK
You can now start working in your new Learning Design document.


